01仿真配置文档
文档摘要
论文地址 https://drive.google.com/file/d/1637XPqWMajfCZqKfCGxDxzRMrsJQA1g/view 项目网站DISCOVERSE Installation 安装 [](https://github.com/TATP-233/DISCOVERSE/tree/main#-installation) Download Resource Files 下载资源文件 [](https://github.
论文地址
https://drive.google.com/file/d/1637XPqWMajfC_ZqKfCGxDxzRMrsJQA1g/view
项目网站DISCOVERSE
Installation 安装
git clone https://github.com/TATP-233/DISCOVERSE.git --recursive cd DISCOVERSE pip install -r requirements.txt pip install -e .
Download Resource Files 下载资源文件
Download the meshes and textures folders from Baidu Netdisk or Tsinghua Netdisk and place them under the models directory. After downloading the model files, the models directory will contain the following contents.
从百度网盘或清华网盘下载meshes和textures文件夹,放在models目录下。下载模型文件后,模型目录将包含以下内容。
models ├── meshes ├── mjcf ├── textures └── urdf
Photorealistic Rendering
真实感渲染

Preparation 制备
The physical engine of DISCOVERSE is mujoco. If the user does not need the high-fidelity rendering function based on 3DGS, this section can be skipped. If photorealistic rendering is required, please follow the instructions in this subsection.DISCOVERSE的物理引擎是mujoco。如果用户不需要基于3DGS的高保真渲染功能,可以跳过本节。如果需要真实感渲染,请遵循本小节中的说明。
-
Install CUDA. Please install the corresponding version of CUDA according to your graphics card model from the download link.
安装CUDA。请根据您的显卡型号从下载链接安装相应版本的CUDA。 -
pip install -r requirements_gs.txt
-
Install
diff-gaussian-rasterization
安装diff-gaussian-rasterizationcd submodules/diff-gaussian-rasterization/ git checkout 8829d14Modify line 154 of
submodules/diff-gaussian-rasterization/cuda_rasterizer/auxiliary.h, change(p_view.z <= 0.2f)to(p_view.z <= 0.01f).
修改submodules/diff-gaussian-rasterization/cuda_rasterizer/auxiliary.h的第154行,将(p_view.z <= 0.2f)更改为(p_view.z <= 0.01f)。cd ../.. pip install submodules/diff-gaussian-rasterization -
Prepare 3DGS model files. The high-fidelity visual effect of
DISCOVERSEdepends on 3DGS technology and corresponding model files. The pre-reconstructed robot, object, and scene models are placed on Baidu Netdisk link and Tsinghua Netdisk link. After downloading the model files, themodelsdirectory will contain the following contents. (Note: Not all models are necessary. Users can download according to their own needs. It is recommended to download all ply models except those in thescenedirectory, and for the models in thescenefolder, only download the ones that will be used.)
准备3DGS模型文件。DISCOVERSE的高保真视觉效果依赖于3DGS技术和相应的模型文件。将重构后的机器人、物体和场景模型分别放置在百度网盘和清华网盘上。下载模型文件后,模型目录将包含以下内容。(Note:并非所有的模型都是必需的。用户可以根据自己的需要进行下载。建议下载除场景目录中的模型外的所有层模型,对于场景文件夹中的模型,仅下载将使用的模型。)
models ├── 3dgs │ ├── airbot_play │ ├── mmk2 │ ├── tok2 │ ├── skyrover │ ├── hinge │ ├── object │ └── scene ├── meshes ├── mjcf ├── textures └── urdf
配置cuda
在网站CUDA Toolkit 12.8 Update 1 Downloads | NVIDIA Developer
wget https://developer.download.nvidia.com/compute/cuda/repos/ubuntu2204/x86_64/cuda-ubuntu2204.pin sudo mv cuda-ubuntu2204.pin /etc/apt/preferences.d/cuda-repository-pin-600 wget https://developer.download.nvidia.com/compute/cuda/12.8.1/local_installers/cuda-repo-ubuntu2204-12-8-local_12.8.1-570.124.06-1_amd64.deb sudo dpkg -i cuda-repo-ubuntu2204-12-8-local_12.8.1-570.124.06-1_amd64.deb sudo cp /var/cuda-repo-ubuntu2204-12-8-local/cuda-*-keyring.gpg /usr/share/keyrings/ sudo apt-get update sudo apt-get -y install cuda-toolkit-12-8
https://superspl.at/editor
在线观看仿真建模
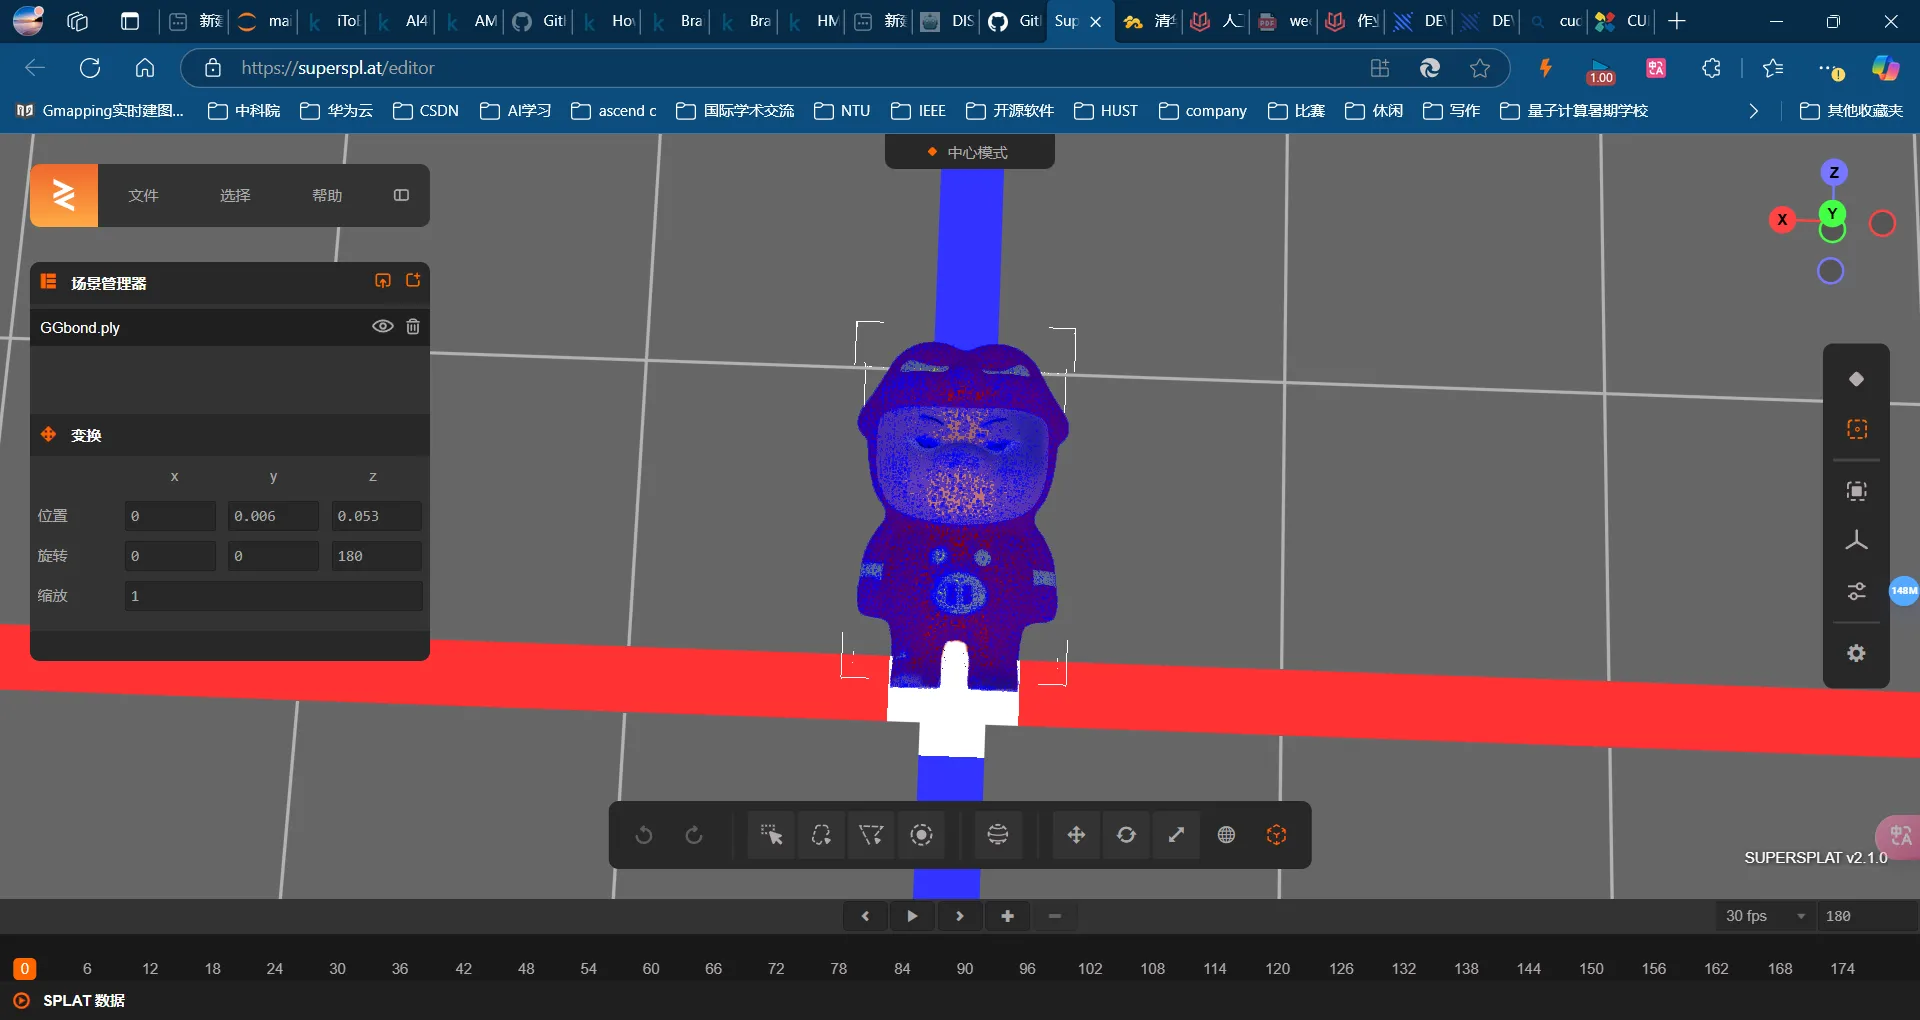
查看渲染效果
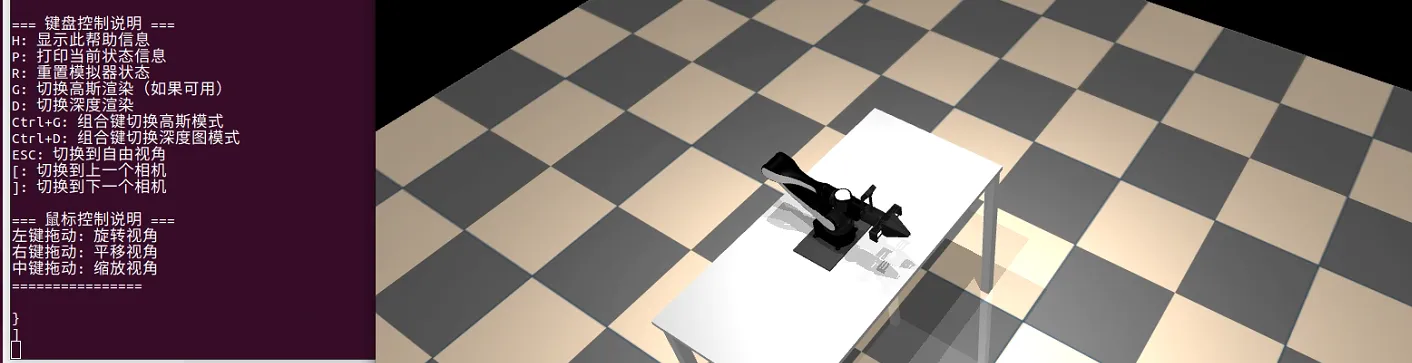
pip install mujoco==2.3.7 sudo apt-get install libosmesa6-dev freeglut3-dev sudo apt install libglew-dev
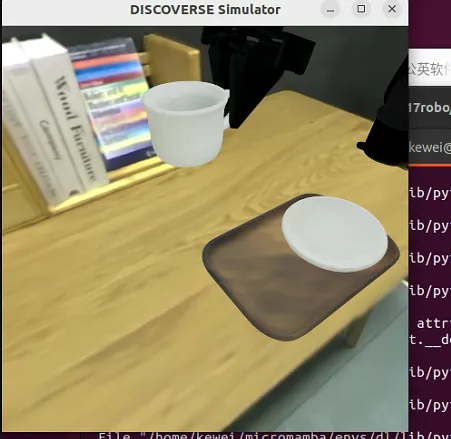
放咖啡杯的也很不错
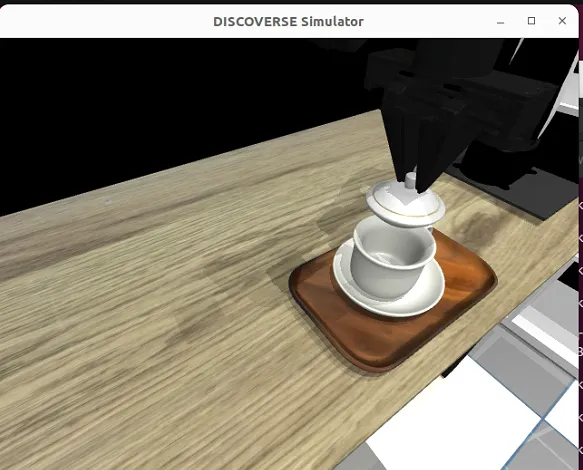
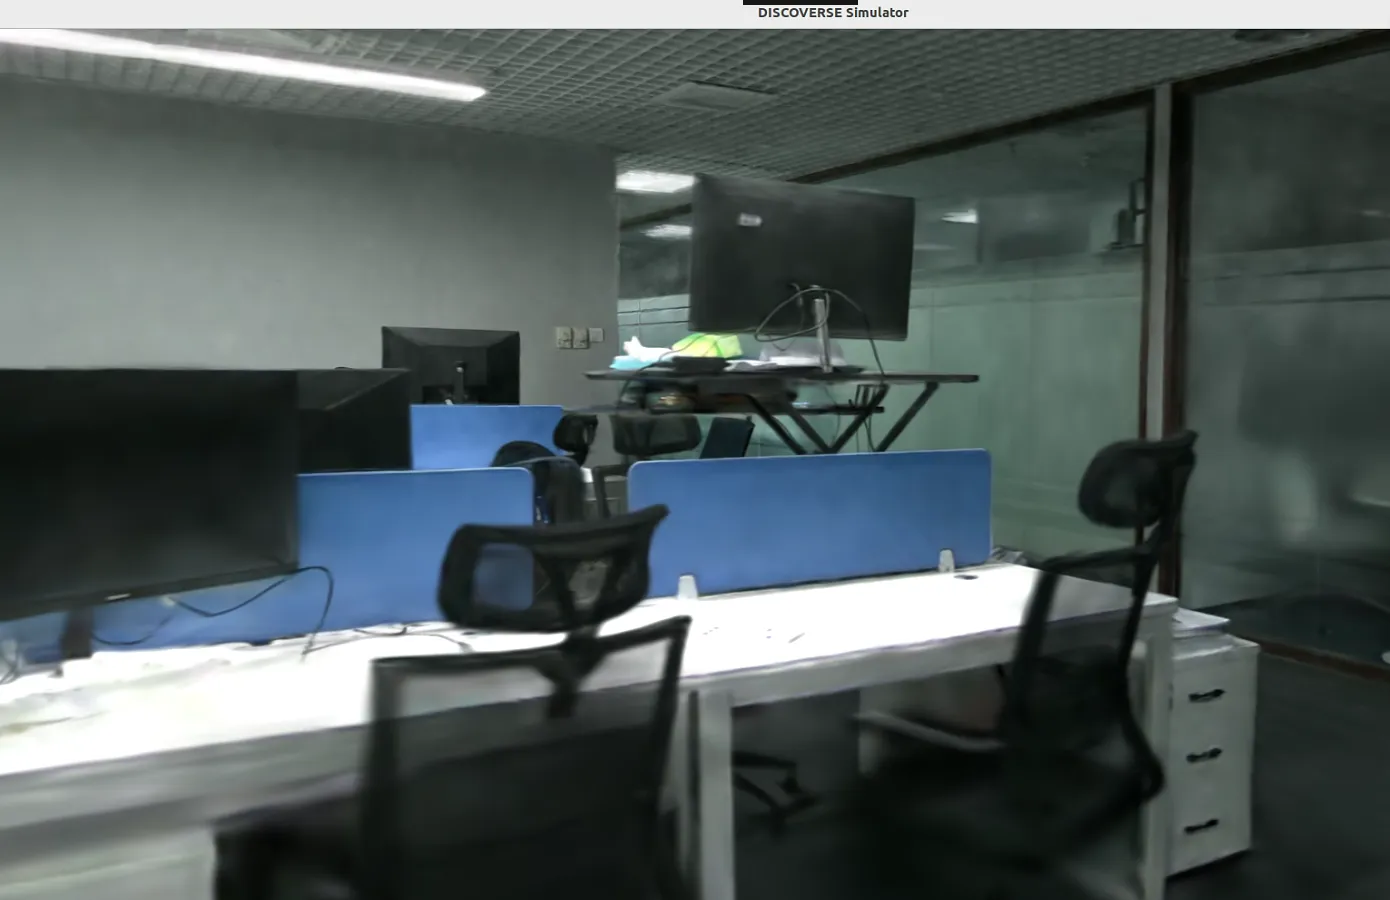
室内3D高斯重建 非常厉害